 For a solution I thought I'd have to call in an expert who would install a frame for the screens to slide into. I put it off for a few months thinking I could come up with another idea, until my real estate bud Jim Stover mentioned Ace Hardware can do custom screens for a reasonable price.
The new screens for eleven windows ran about $250.00. They're not the thick aluminum gauge the previous screens were. Framed on all four sides allowed for some rigidity. The installation procedure was similar to the older ones but left for a tighter fit around the frame. Removing and reinstalling the new took approximately four hours.
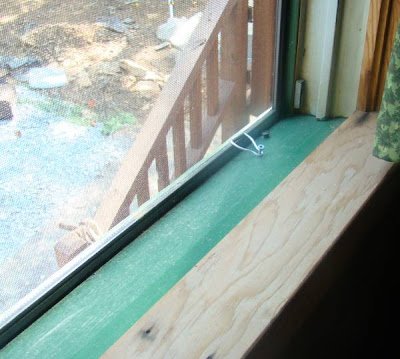
For each window, two swivel type clips were fastened on each side (shown above, upper right corner). These allow for the screens to be inserted on an angle from the bottom then pushed into place allowing for a firm fit without any voids. Only available in one color, aluminum, all of them were painted to match the screen border frame before use.

Once the screen is inserted from the outside ordinary galvanized screws were attached on each side of the sill. Placed in an area allowing for the tightest fit, the new clips (hooks) are pulled tightly over the screws. Also shown is an existing screw from the older screens that I couldn't remove.


No comments:
Post a Comment